Retrofit
Is your sprinkler system aging? Are you interested in making your system more efficient? You’re in the right place. You can save 30-50% of your current outdoor water use by upgrading your lawn irrigation system. Options include: 1) installing a Weather-Based Irrigation Controller, 2) adding a Soil Moisture Sensor to an existing controller, 3) adding a Rain Sensor, and 4) retrofitting your sprinkler heads and nozzles.
WaterSense approved controllers have been evaluated by the Environmental Protection Agency. Visit the Nerds section on Smart Controllers to find a list of things to consider when looking for a Smart Controller and examples of WaterSense approved models.
WaterSense approved soil moisture sensors may be compatible with your controller. Visit the Nerds section on Soil Moisture Sensors to find a list of things to consider when looking for a soil moisture sensor and examples of WaterSense approved models.
If you have a Weather Based Irrigation Controller (WBIC) you do not need to add-on a rain sensor. The WBIC receives weather data and adjusts the sprinklers automatically.
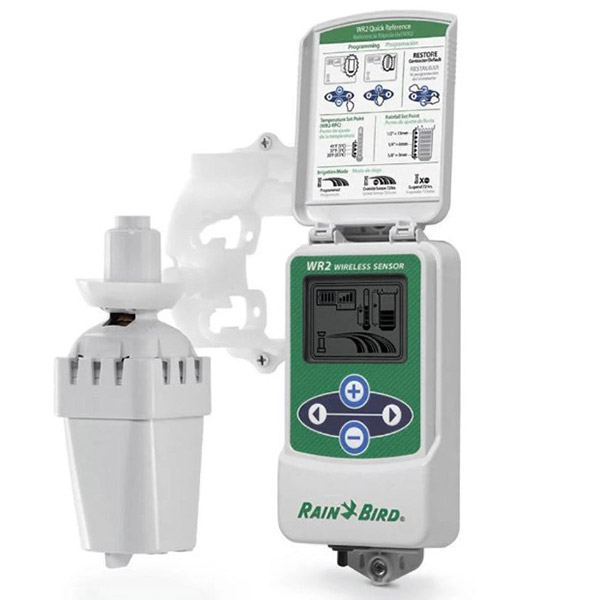
A rain sensor communicates with your sprinkler controller about the level of rainfall. When enough rain falls the sensors tells the controller to turn off. Adding a rain sensor to your irrigation controller is an easy and inexpensive way to help conserve water and save money. Most controllers are equipped with a dedicated sensor terminal that can accommodate a rain sensor. Rain Sensors are available in models that are wired to your controller or wireless. Make sure the add on rain sensor is compatible with your controller. Here a just a few samples available at home improvement stores.


Benefits of a Rain Sensor
- Saving money: Whether you pay for city water or spend electricity running a pump, the money you save over time will more than pay for the rain sensor.
- Extending sprinkler system life span: Every irrigation system has a lot of moving parts. If the parts are utilized less frequently, like during the rainy season, they will last longer.
- Conserving water: Less water is wasted by turning off your sprinklers during a rain event.
Things to consider when choosing a rain sensor
- Match the rain sensor to the brand of controller. This ensures compatibility and simplifies potential warranty issues.
- Most rain sensor devices are intended only for use with a 24 VAC power source. For 110-220 VAC controllers, a rain sensor rated for high voltage such as the Hunter Rain-Clik-HV may be necessary.
- Wireless sensors are more convenient to install and have almost no wiring to get damaged. The sensor can be installed up to three hundred feet from the receiver. However, the wireless sensor costs about three times as much as wired models.
- Wired sensors are less expensive and don’t have batteries to replace.
- Each model has its own unique mounting hardware. Some are more versatile than others. Documentation, instructions, and diagrams vary from outstanding to confusing.
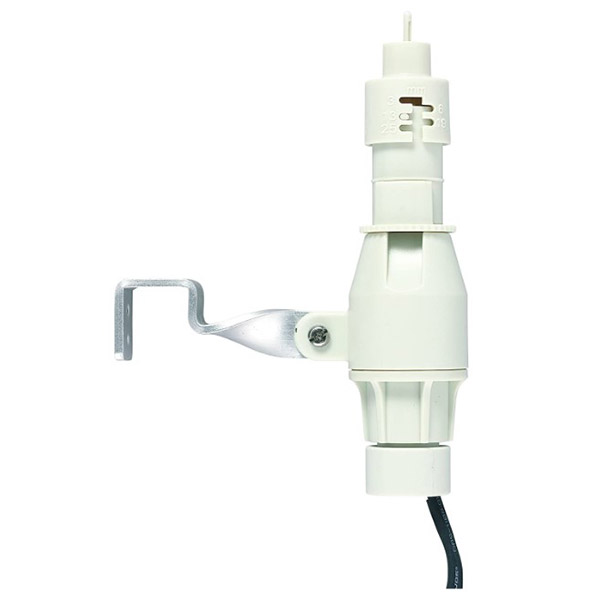
- Among established brands, Rain-Clik by Hunter is the only “instantaneous” rain shut-off device for residential irrigation systems. This sensor interrupts the irrigation cycle within the first two to five minutes of a rain event. It can be mounted on any flat vertical surface such as a fence, wall, or vertical facia, and can be mounted on a rain gutter using a Hunter gutter mount.
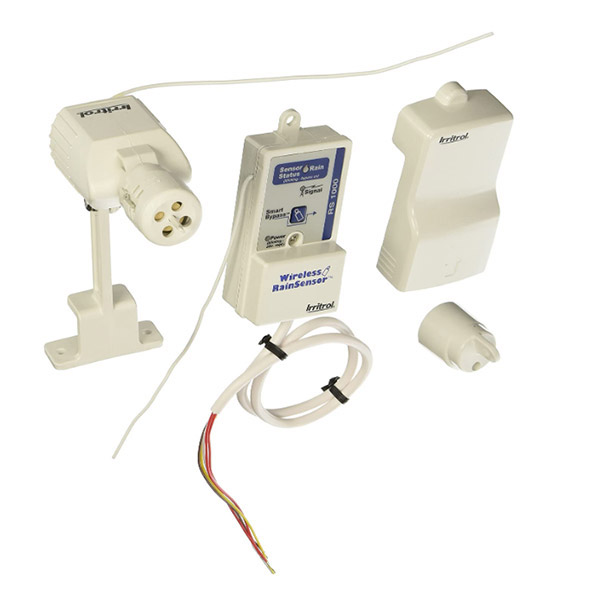
Wireless Rain Sensor Installation Steps
Estimated installation time one hour.
- Disconnect power to the irrigation system controller.
- Mount the rain sensor receiver FIRST.
- Place it next to the controller with either the screws provided or double-sided foam tape.
- Attach receiver control wires to the sensor inputs OR break the valve common wire.
- Disconnect common valve wire and common pump/master valve wire (if present).
- Attach white wire to common wire(s) with a wire connector.
- Attach brown wire (only) to the common terminal on the controller.
- Connect the red wires to controllers 24 VAC power source terminals.
- Straighten the receiver antenna wire upward and the sensor/transmitter antenna wire downward.
- While holding the sensor/transmitter at close range to the receiver, press and hold the spindle to test the wiring, the power, signal, and sensor status indicators should be on.
- Adjust the rainfall adjustment cap to desired rainfall activation amount.
- Adjust the vent ring to the desired dry-out rate.
- Mount the sensor / transmitter in an unobstructed location away from sprinklers.
- Check to see if your irrigation / sprinkler system works.
- Hunter Industries https://www.hunterindustries.com/product-line/MP%20Rotator
- Rain Bird https://www.rainbird.com/products/rn-high-efficiency-rotary-nozzles
- Toro Precision https://www.toro.com/en/watersmart/precision-rotating-nozzle
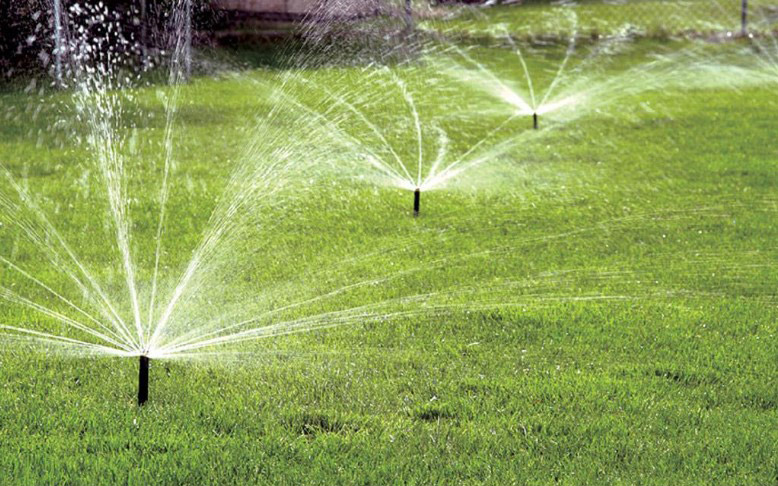
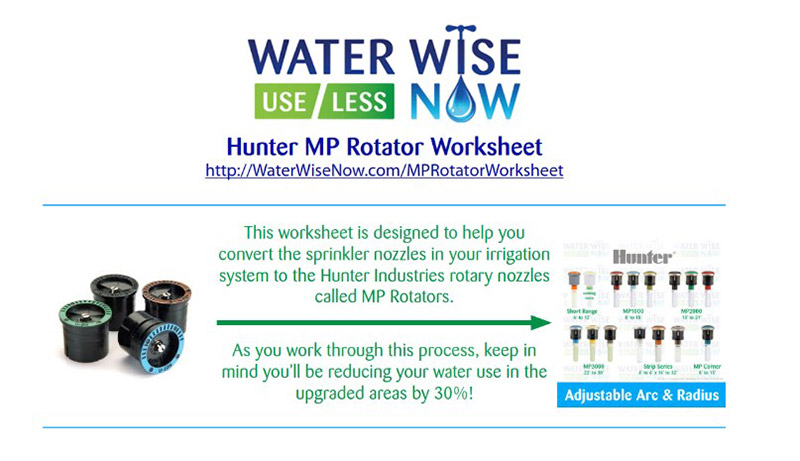
Outdoor water accounts for 70% of our household water use in the Coeur d’Alene – Spokane region, so having an efficient irrigation system is important for conserving water. Matched Precipitation (MP) Rotator nozzles use 30% less water than traditional spray heads. In the past two (2) years, fifteen (15) billion gallons of water were saved by installing MP Rotators.
MP Rotators deliver multiple streams of water at a slow, steady rate. This slower application rate allows water to gently soak into the soil and achieves an even distribution throughout the area being irrigated. Because of the low application rate, it virtually eliminates wasteful runoff. The increased efficiency results in 30% less water used compared to a traditional spray head. The double pop feature keeps the nozzle free and clear of debris while not in operation. This ensures the head retract properly. Once the irrigation cycle is complete the nozzle retracts once again to protect it until the next cycle. MPs can operate in high wind conditions, minimizing wasteful runoff from the mist factor.
Hunter Industries, Rain Bird, and Toro Precision all produce MP rotators. Below is the Hunter MP Rotator Worksheet.
Equipment You’ll Need
Required: Measuring Tape
Required: Pencil (you might get wet and ink bleeds)
Required: A Clipboard (or something hard to write on)
Highly Recommended: A helper! Having one makes the process go a LOT faster.
Recommended: Gardening gloves. Your hands might get dirty while unearthing sprinkler heads.
Recommended: Sprinkler Flags. Order from us or pick them up at your local hardware store. If you don’t want to purchase sprinkler flags, you’ll need something else you can stick in the ground to mark where sprinklers are located (one customer used shish-kabob skewers!)
Prerequisites
Hunter MP Rotators are optimized to run at 40 psi. You need to know your system pressure to install these sprinkler nozzles. If you do not know your system pressure, you’ll need to make a decision about how to address it.
If you know your pressure is 25 – 55 psi, skip ahead to figuring out which nozzles you need. If your pressure is greater than 55 psi or you don’t know what it is, you have options:
Option 1: Investigate First
You can determine your system pressure using a pressure gauge. If you don’t have one, you can order a Hunter MP Pressure Gauge. You can use this later to test individual sprinkler heads to ensure each head is operating at 40 psi.
Option 2: Do it the Easiest Way
Instead of only replacing the sprinkler nozzles, also replace the sprinkler bodies.
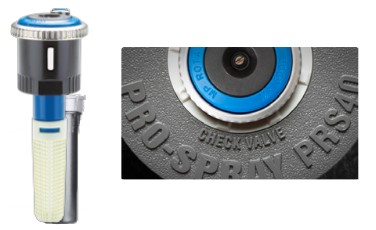
Hunter MP Rotators cost $7.50 each. The recommended Hunter sprinkler bodies (pressure- compensating with check-valves) are $ 8-20 each, depending on pop-up height—most are 4” ($ 8).
These sprinklers are designed to have the optimal 40 psi for Hunter MP Rotators. This combination should yield optimal performance.
Rebate info: Many water districts offer a rebate on the MP Rotator nozzles to help offset your cost!
Note, if your sprinklers are on risers, instead of pop- ups, you can purchase a pressure-regulated adapter instead of the spray bodies, and still convert to Hunter MP Rotators!
Option 3: Do it the Cheapest Way
Purchase an inline pressure regulator ($15) and install it for your whole system.
By installing a pressure regulator on your water main line after it forks to the landscape, or after the valve for the station you are retrofitting, you are ensuring your entire system operates at the correct pressure.
If you are uncomfor table with cutting and assembling PVC pipe, you should hire a landscape contractor to do this work for you. Visit Find a Professional.